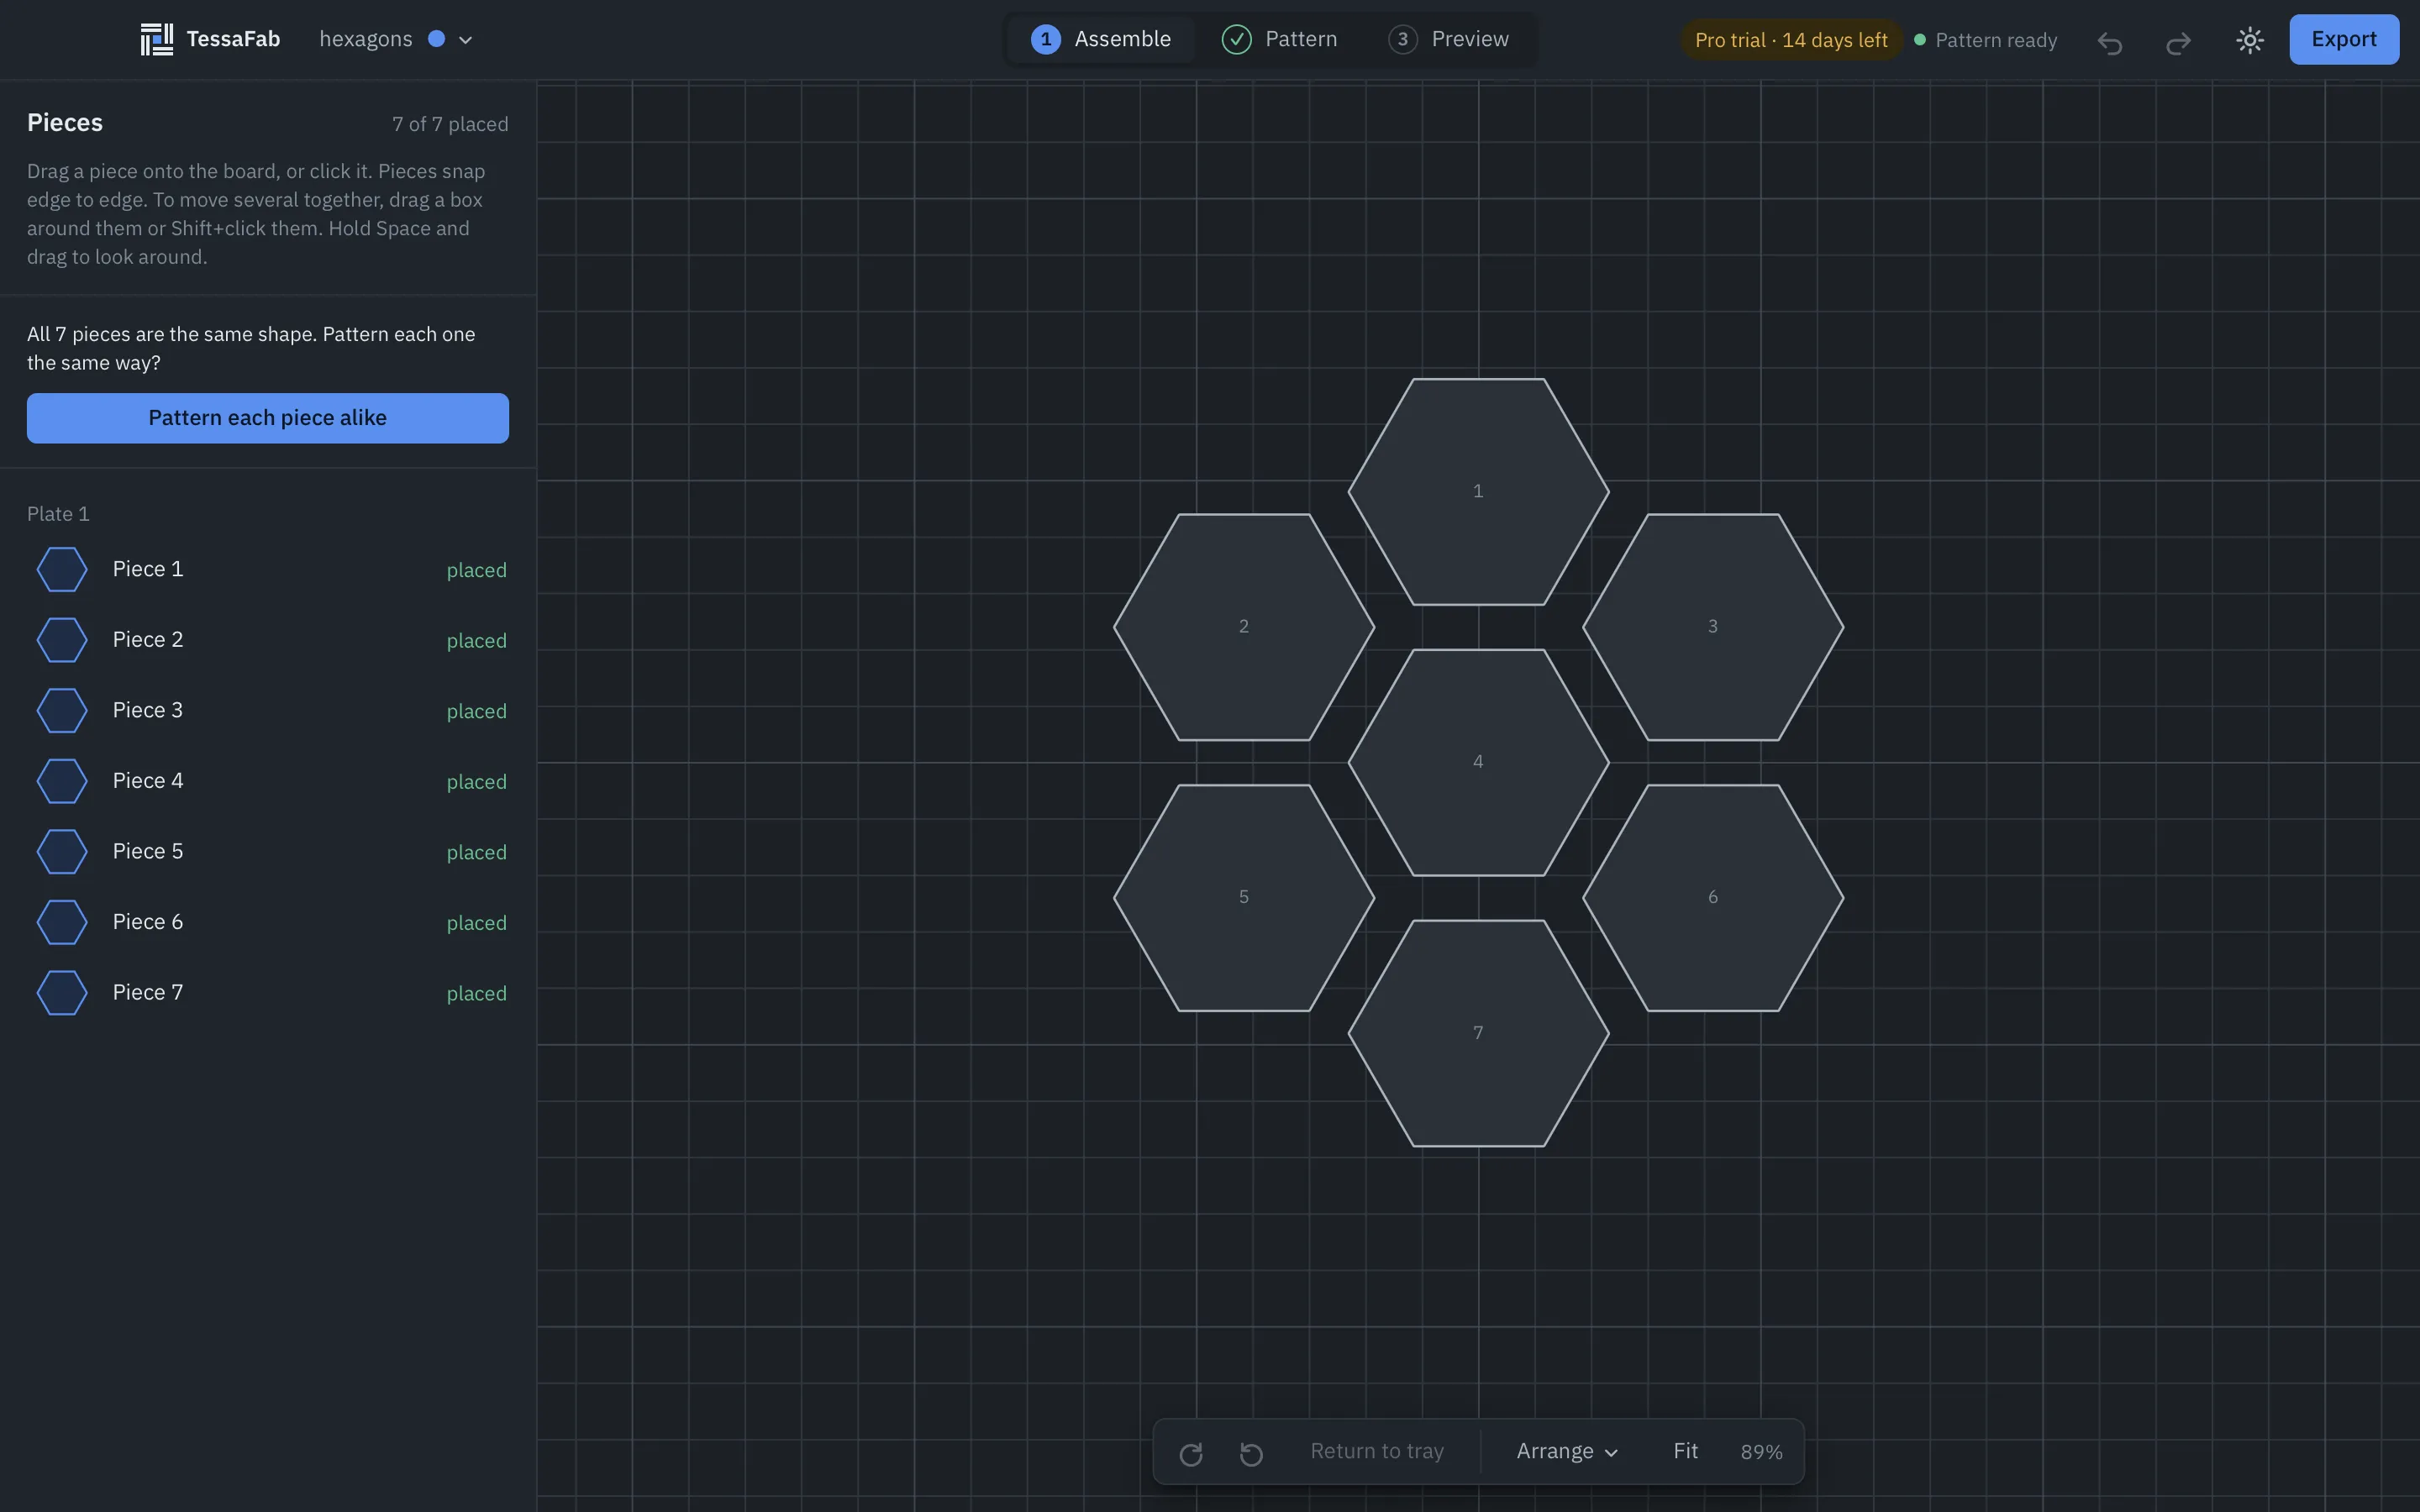
The Assemble step (⌘1 / Ctrl+1) is where you tell TessaFab how the pieces fit together. Pieces are usually turned and spread out to fit the bed; here you put them back where they belong, and TessaFab works out which part of the pattern lands on each one.
If your model is a single piece, or pieces used apart (coasters, tiles), you can skip this step: see the pattern on each piece.
The pieces list
On the left is every piece found in your sliced files, plate by plate, with its state: in tray (not placed yet) or placed. Click a piece in the list, or drag it onto the board, to place it.
Moving and turning
| To | Do |
|---|---|
| Move a piece | Drag it. Pieces snap edge to edge; hold Alt while dragging for no snapping. |
| Select several | Drag a box on the board, or Shift+click pieces. |
| Turn | Drag the turn handle (15° steps; hold Alt for any angle), use the turn buttons (15°, Shift: 90°), or press R / Shift+R for 90°. |
| Nudge | Arrow keys move the selection 1 mm (Shift: 10 mm). |
| Return to the tray | Delete, or Return to tray. |
| Look around | Space+drag or right-drag pans; F fits the pieces in view. |
Pieces are never mirrored: a piece is placed as it was printed, turned and moved only.
Tidying up
- With several pieces selected, the bar above the board can align and distribute them, relative to the selection or to one anchor piece (Relative to). Distributing needs three or more pieces.
- The toolbar at the bottom of the board has Remove gaps, which slides the selected pieces together where they’re within a set distance of each other, until they touch. The anchor piece (or the piece nearest the middle) stays put.
- Arrange, in the same toolbar, lays all placed pieces out In a row or In a grid. Its menu also has Import layout SVG… and Export layout SVG….
Identical pieces
When every piece is the same shape, TessaFab offers Pattern each piece alike: a copy of the pattern on each piece, so copies print the same however the slicer turned them. Lay one pattern across them instead goes back to one pattern over the whole assembly. See Pattern.
In the free edition
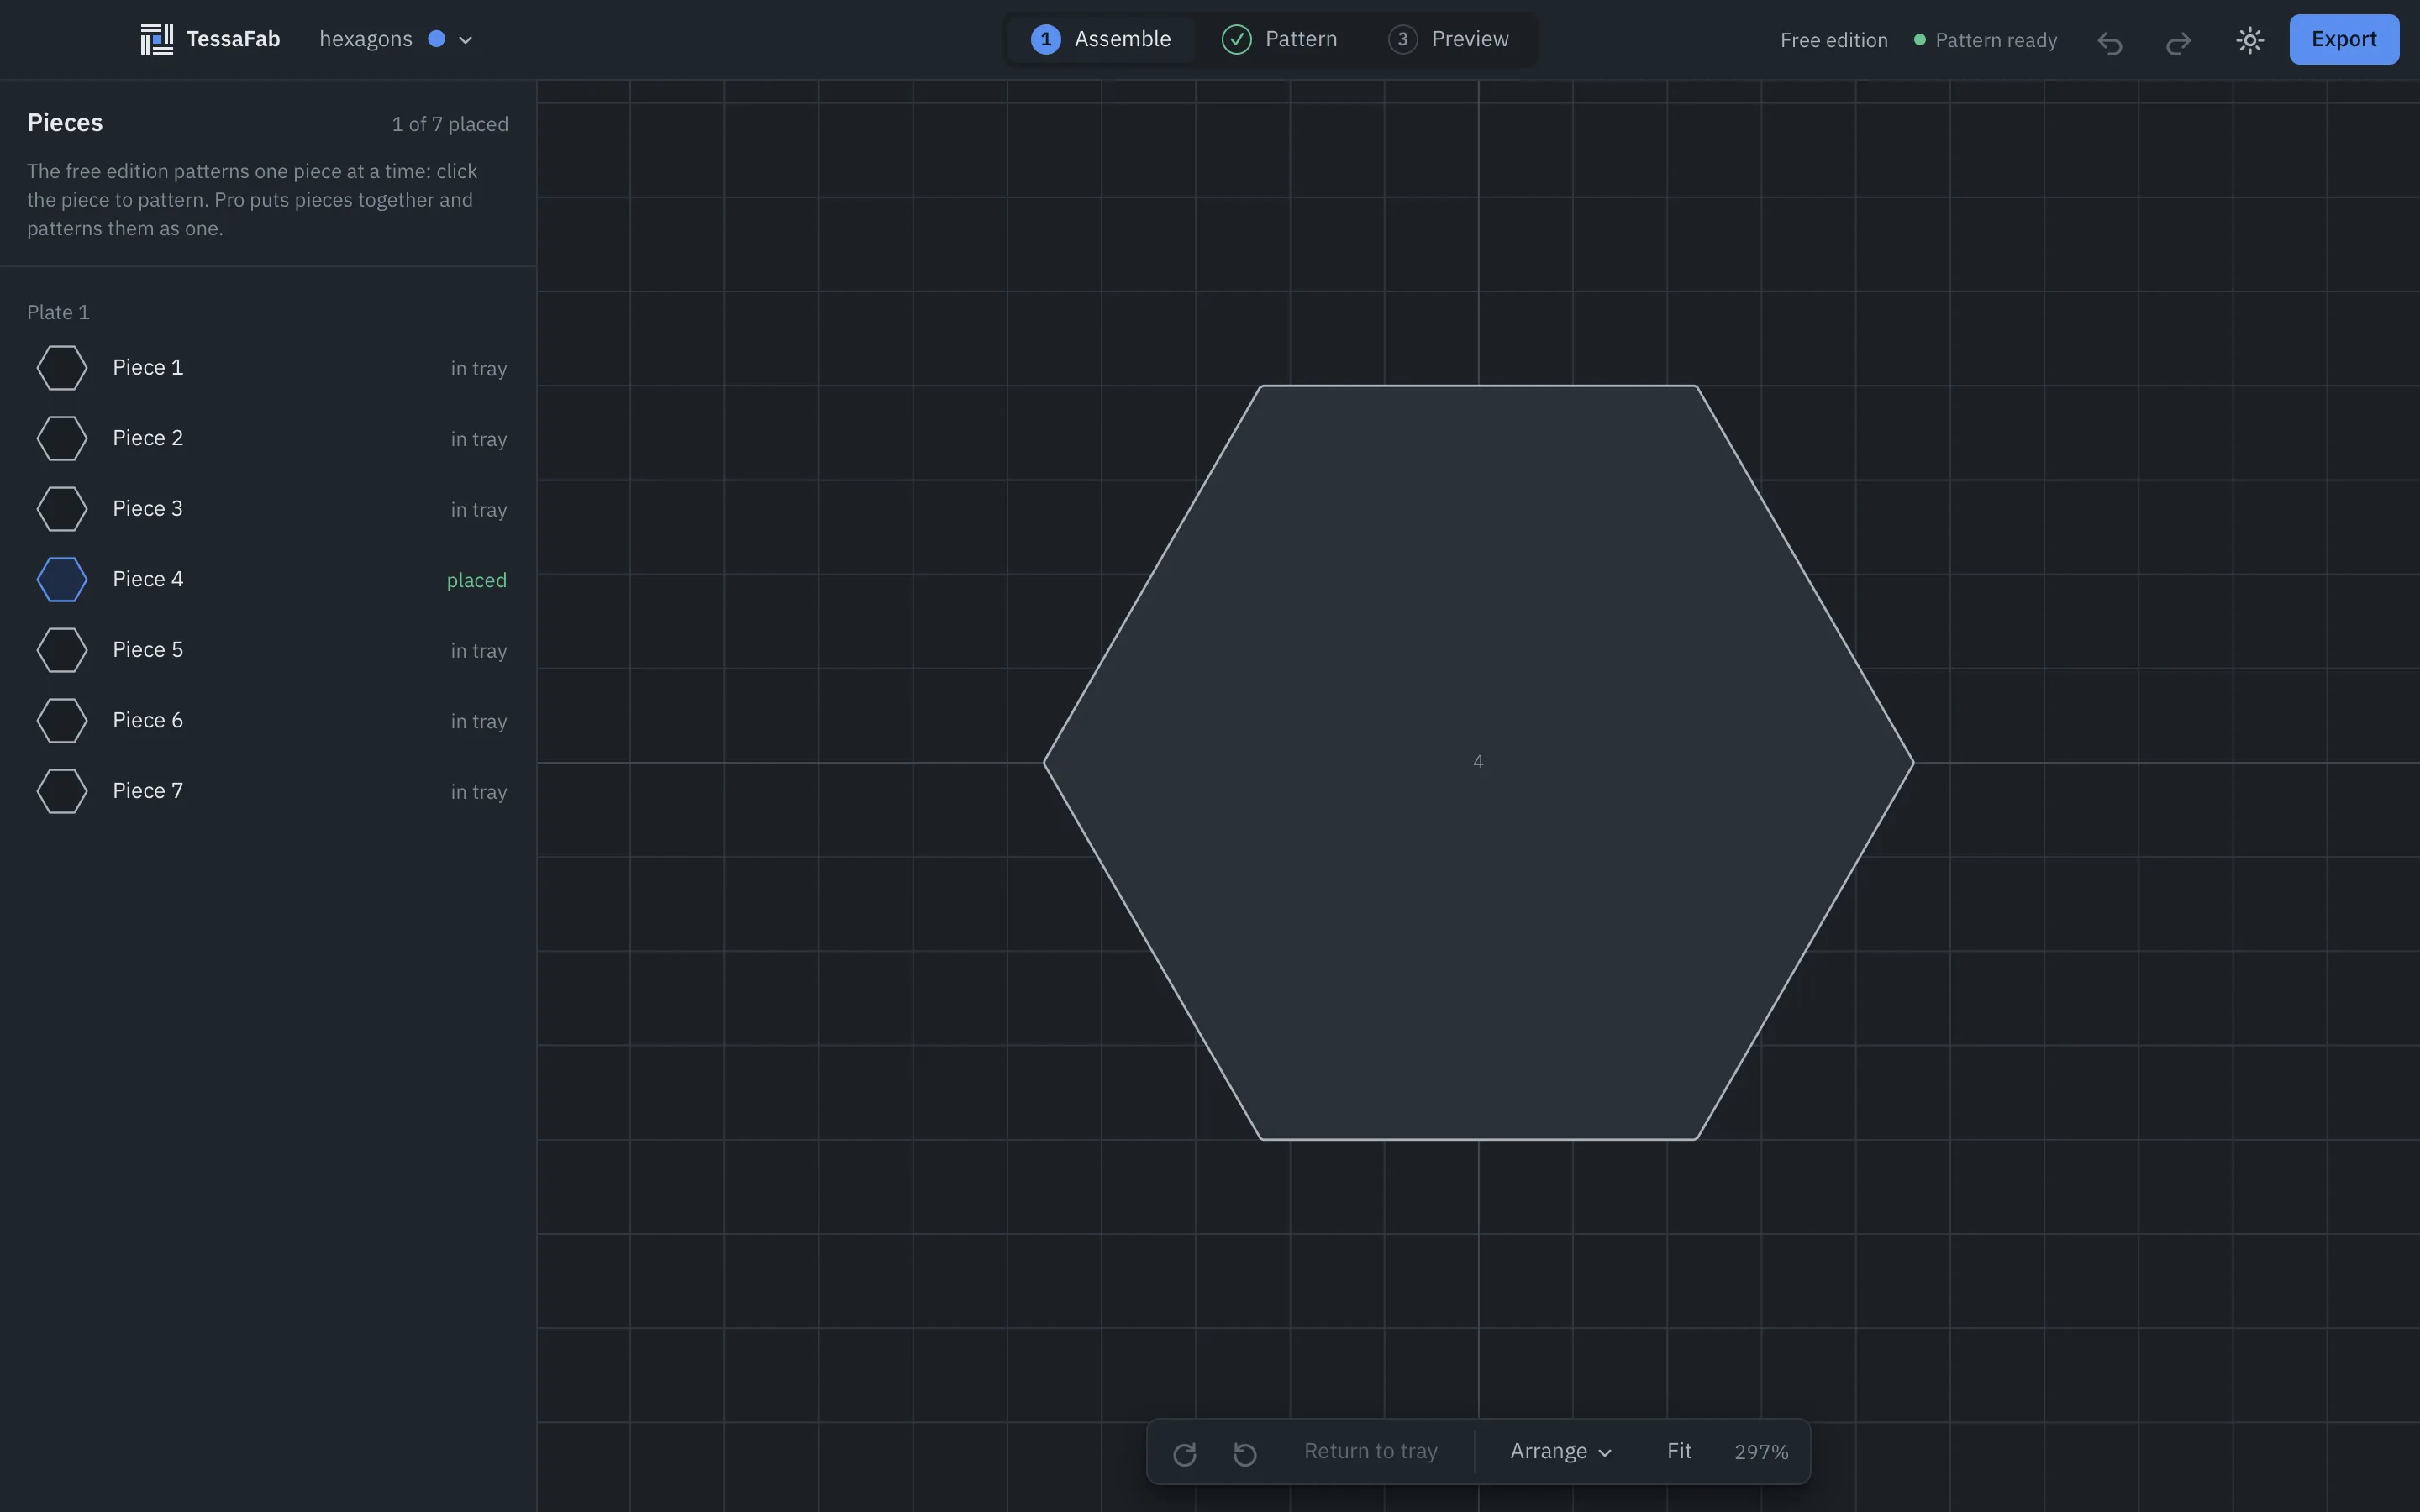
Without Pro, files with many pieces and plates still open, and Assemble asks you to choose the piece to pattern. Click the piece; that one is patterned when you export. Pro (and the trial) patterns every piece.
Layouts
A layout SVG is a drawing of the pieces’ outlines in their assembled places. Export layout SVG… (under Arrange) saves one from your assembly; Import layout SVG… slides every printed piece onto the outline it matches. See Layout SVG.